eyes3 can delivery extremely accurate results, however, one must take care in making sure the eyes3 CAMERAs are calibrated correctly. Don't worry, it is quite simple really, the Calibration process is an automated process - all that is needed is to be mindful about a few points.
Secure the Cameras
Make sure the eyes3 CAMERA is securely mounted, check the ball head and all the knobs/screws and secured and tight. Accuracy is very sensitive to Camera movement. Even the slightest motion could cause significant impact to line-call accuracies.
Perform test Calibration
- Make sure all the CAMERAs and CONTROL use the same Court name. The default court is called 'Default'
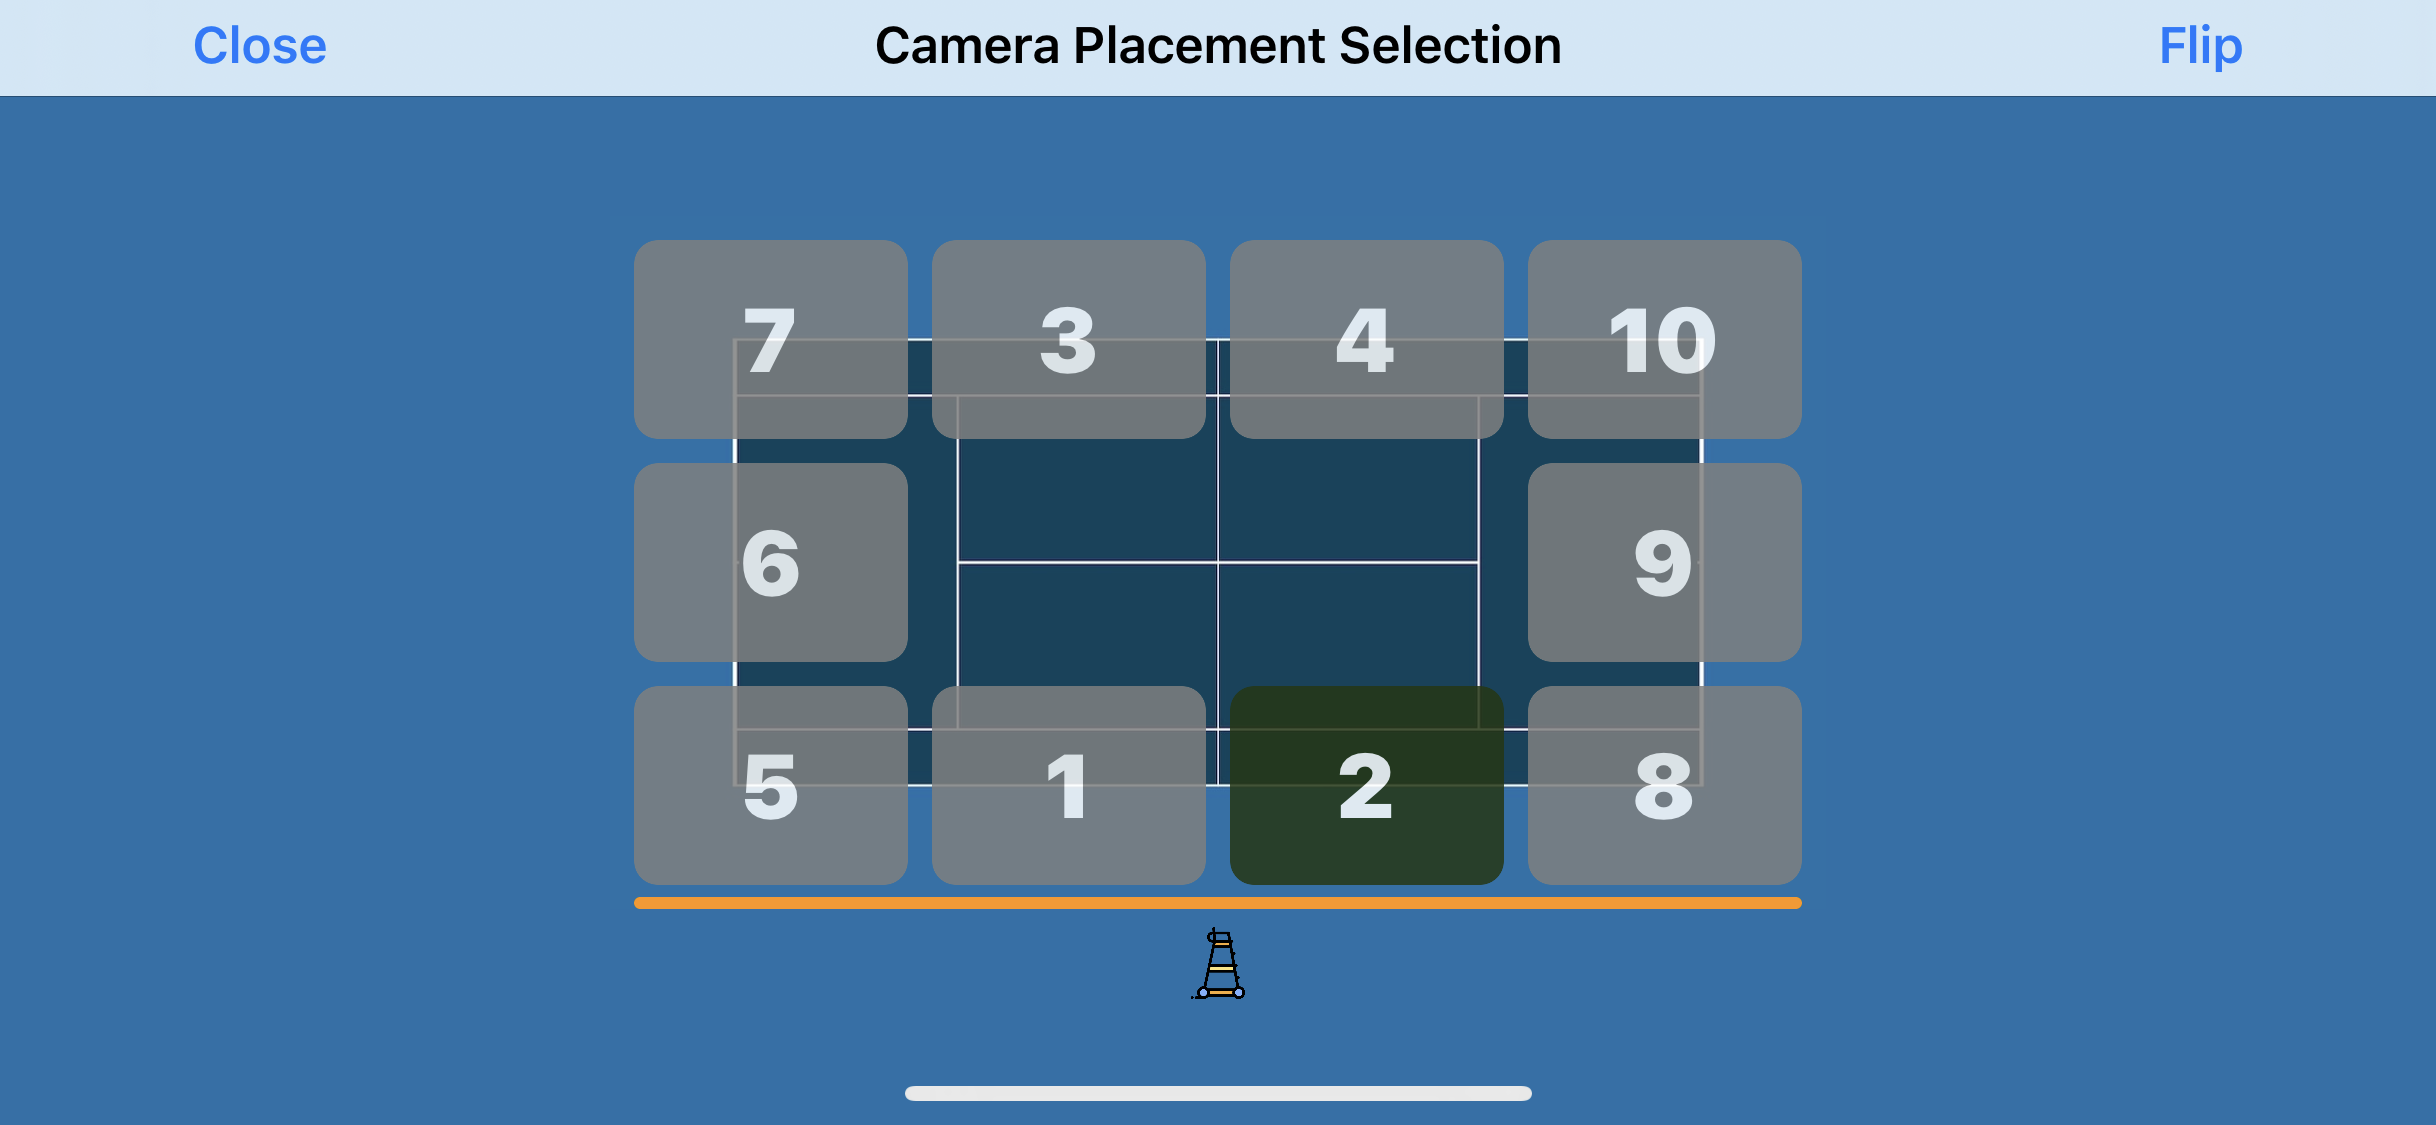
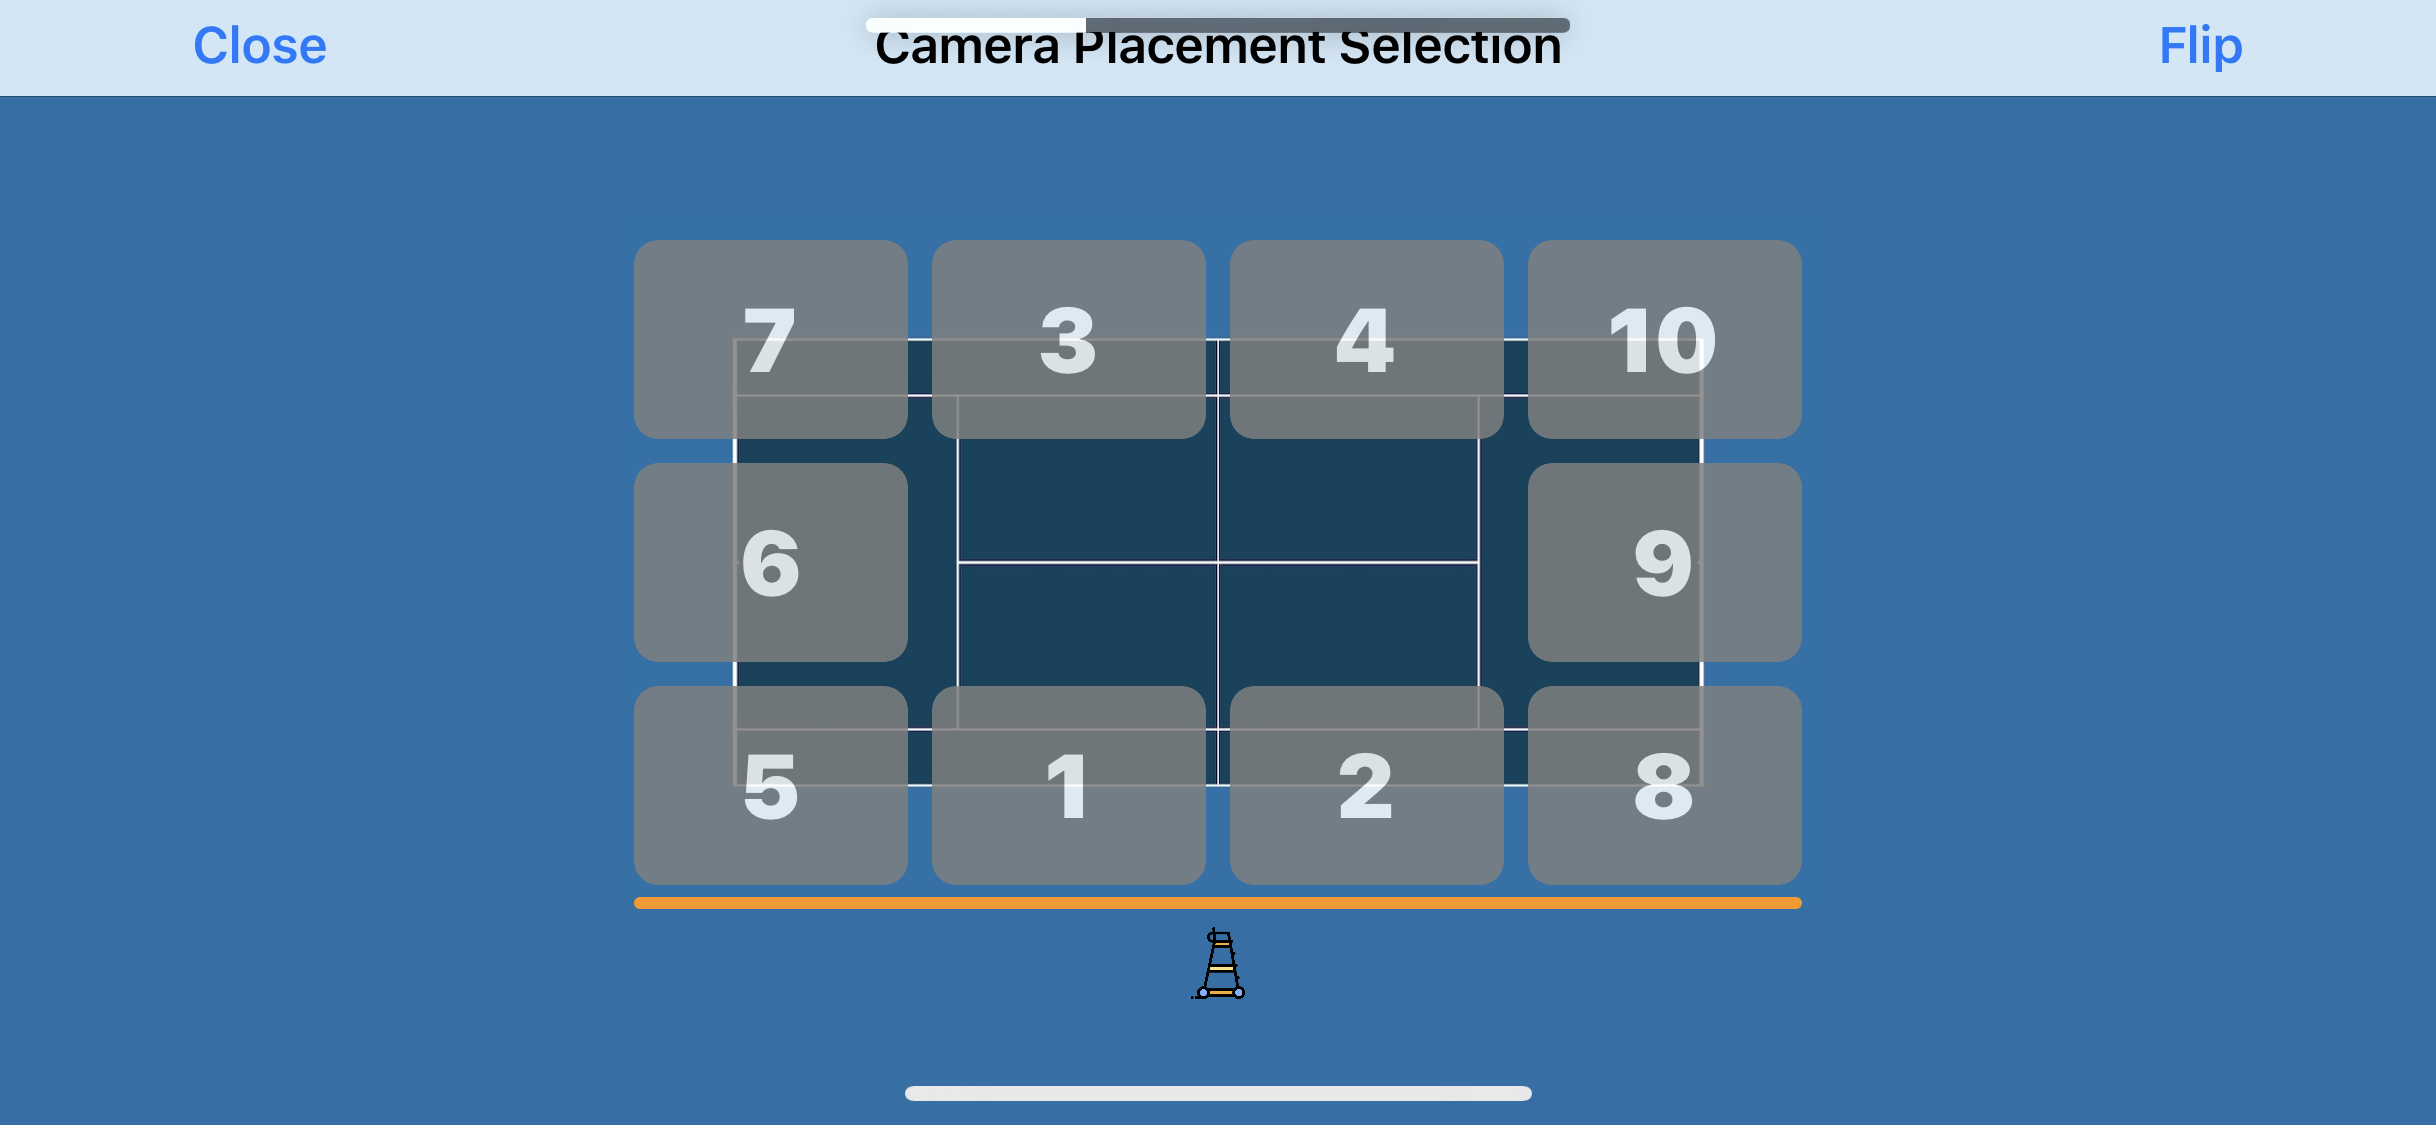
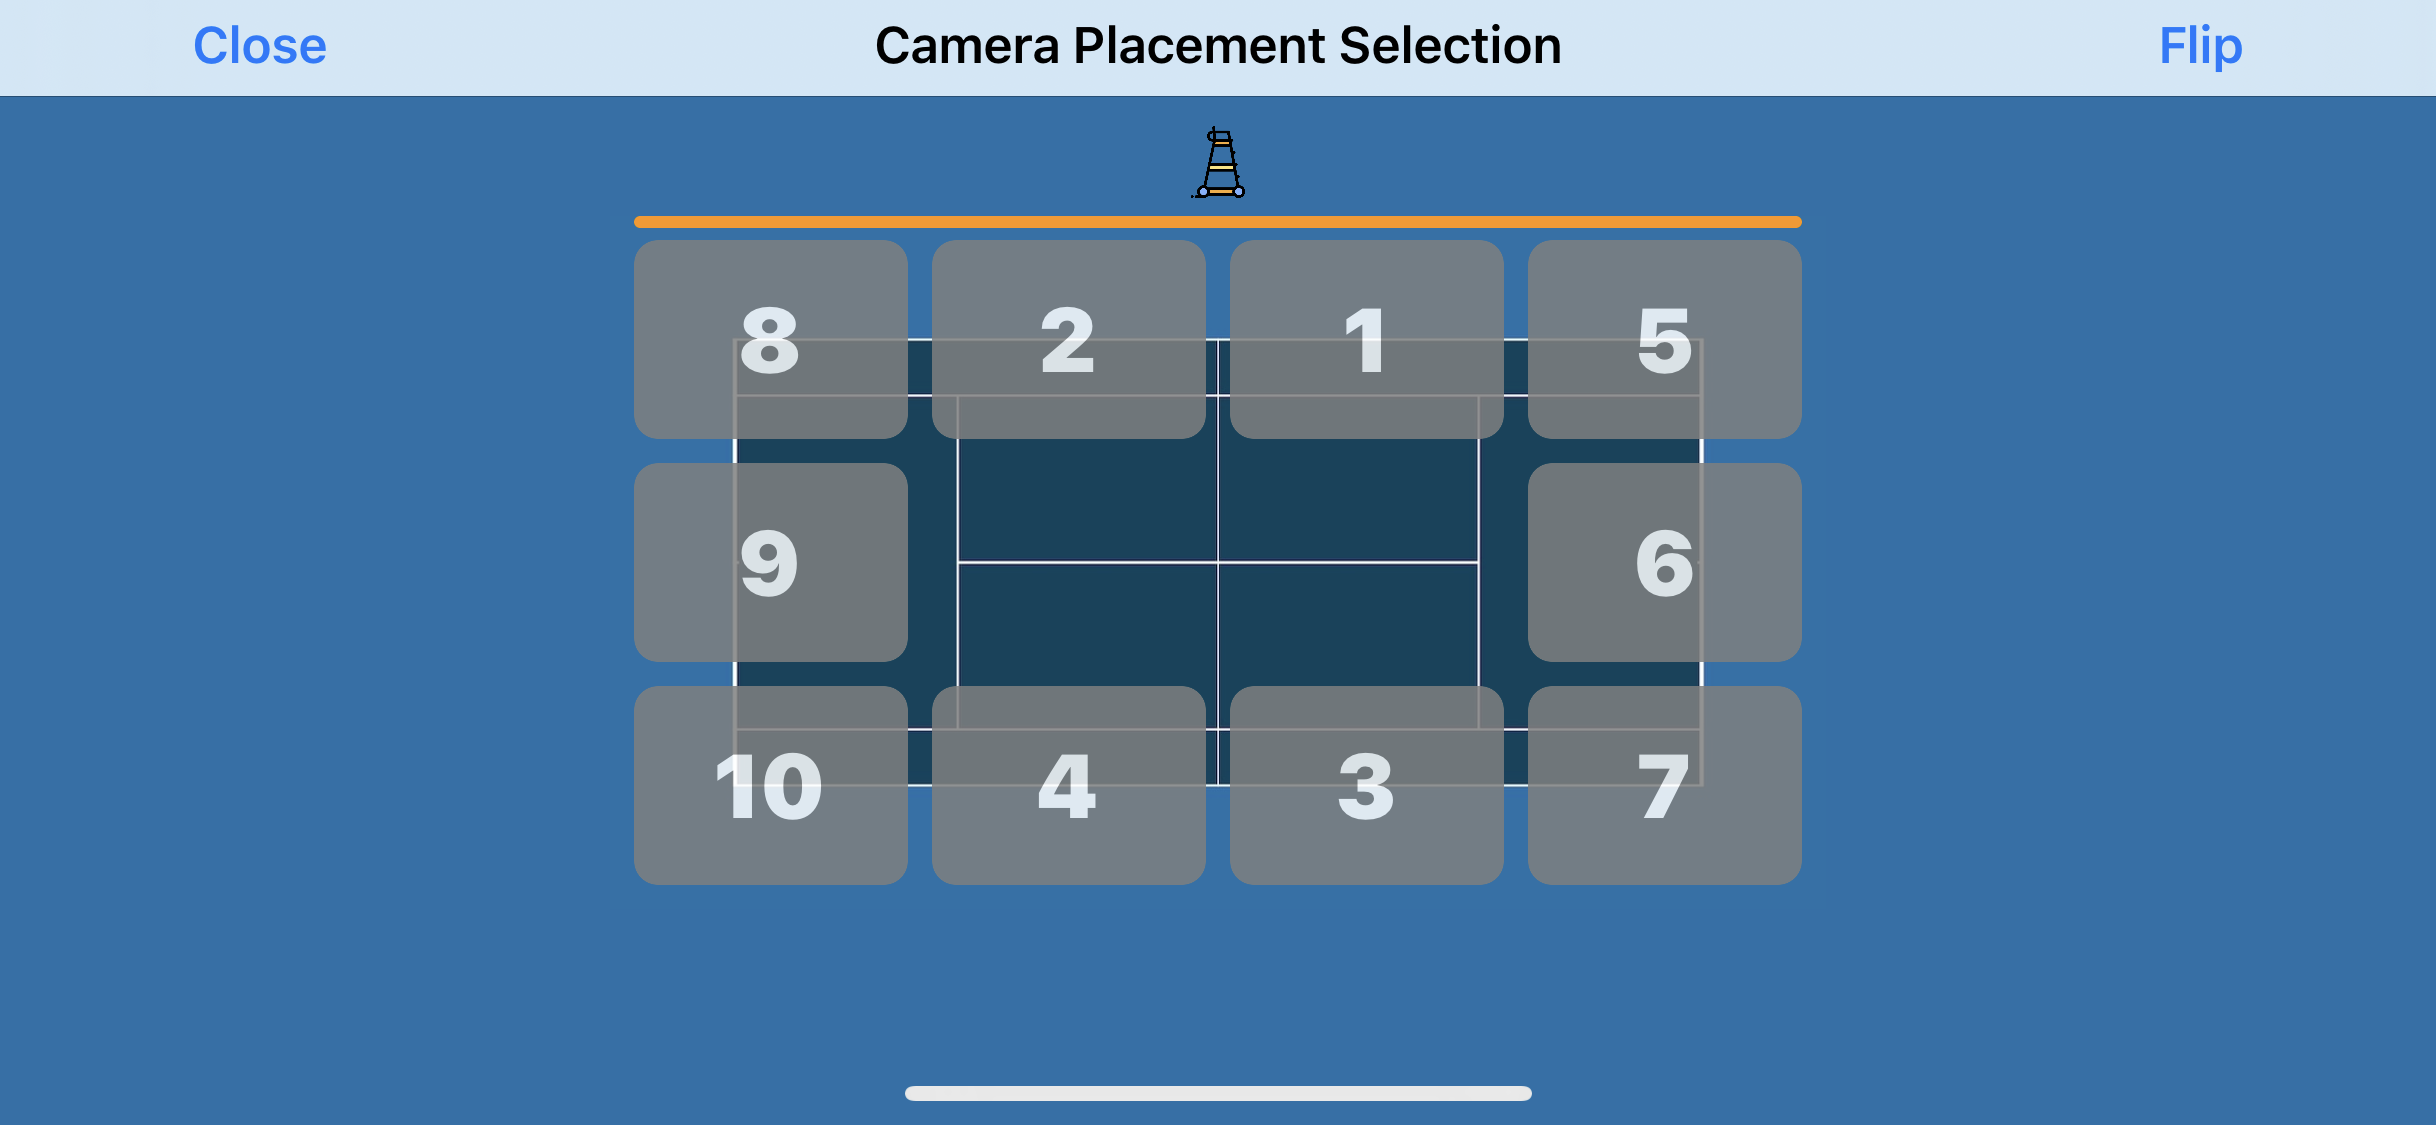
- Choose an appropriate Placement from 1-10. Use the umpire chair or players bench as reference point for orientation. Use the FLIP button to toggle the orientation view.
 |
 |
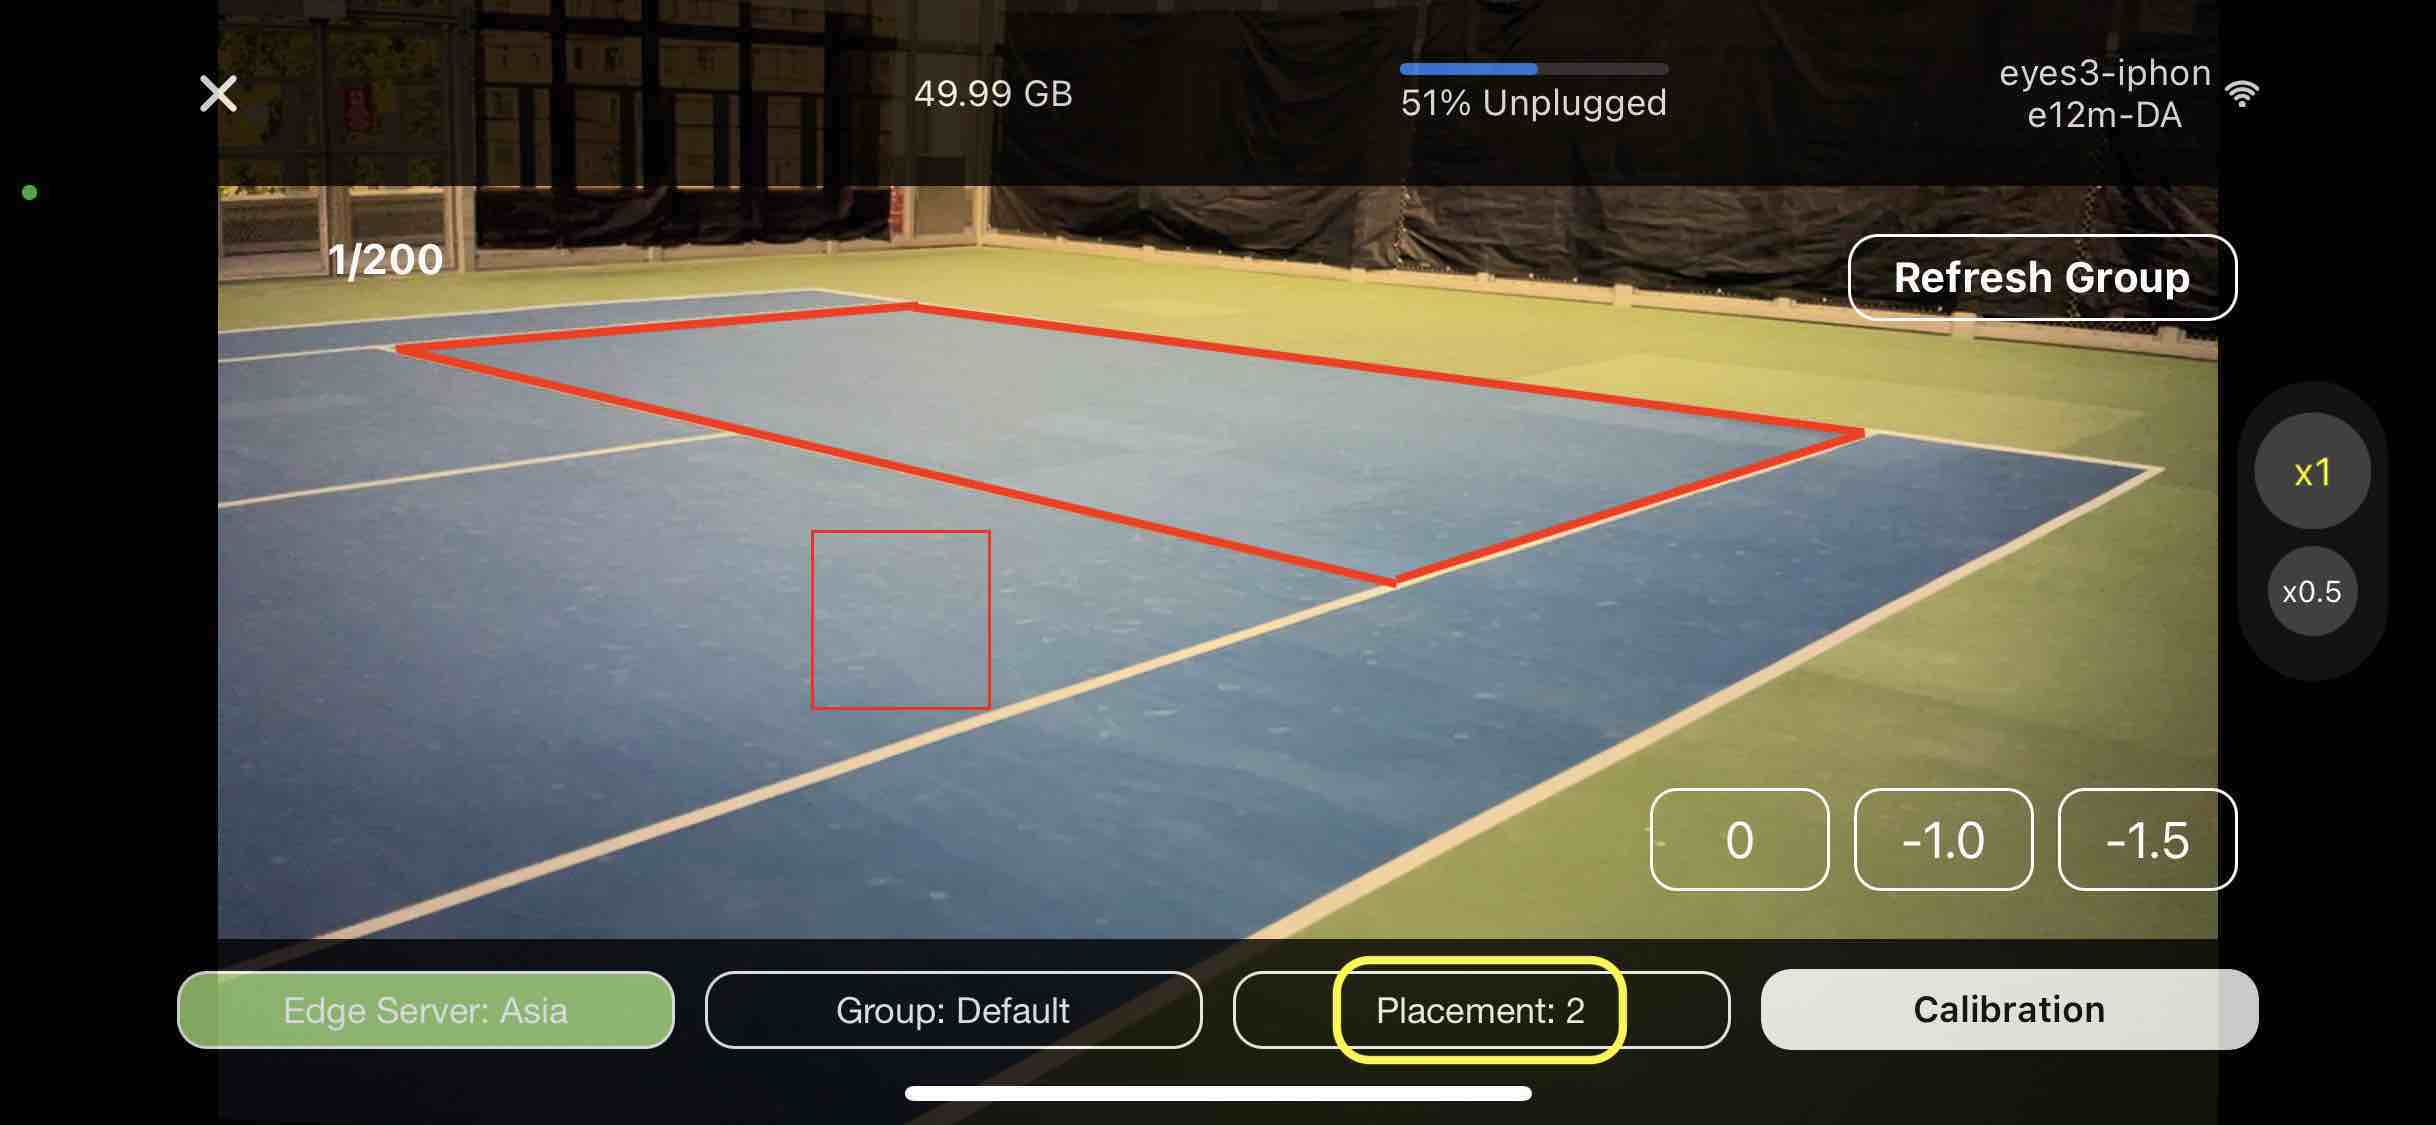
- Adjust the camera view so the service line and the base line are unobstructed in the camera view as shown in the RED rectangle below. Click the ‘Calibrate’ button.
 |
- Calibration is completed when you hear ‘Calibration Successful’ and see a computer generated court overlay.
- Repeat the Calibration process for all cameras you want to configure.
Calibration Unsuccessful
If it calibration is not successful, adjust the camera position slightly and try again. There are situations where the camera may not be able to calibrate automatically:
- The sun is in front of the camera and is hard to see the court lines
- The sun is casting strong shadows from nearby trees or buildings onto the court
- The court is worn out and the court lines are not clearly visible
If you find yourself in these situations, you may need to perform manual calibration using eyes3 CONTROL. To calibrate manually, you must first attach the cameras to eyes3 CONTROL and access the ‘Manual Calibration’ screen from eyes3 CONTROL (see below for Manual Calibration procedures).
Assign cameras to match via eyes3 CONTROL
Follow instructions in ‘Setting up eyes3 cameras’ to learn how to attach eyes3 CAMERAs to a Match via eyes3 CONTROL.
Re-Calibrate via eyes3 CONTROL
The reason we want to perform another round of calibration is because the cameras may have moved while they were being set up. We can remotely Calibrate all the eyes3 CAMERAs at once using these steps:
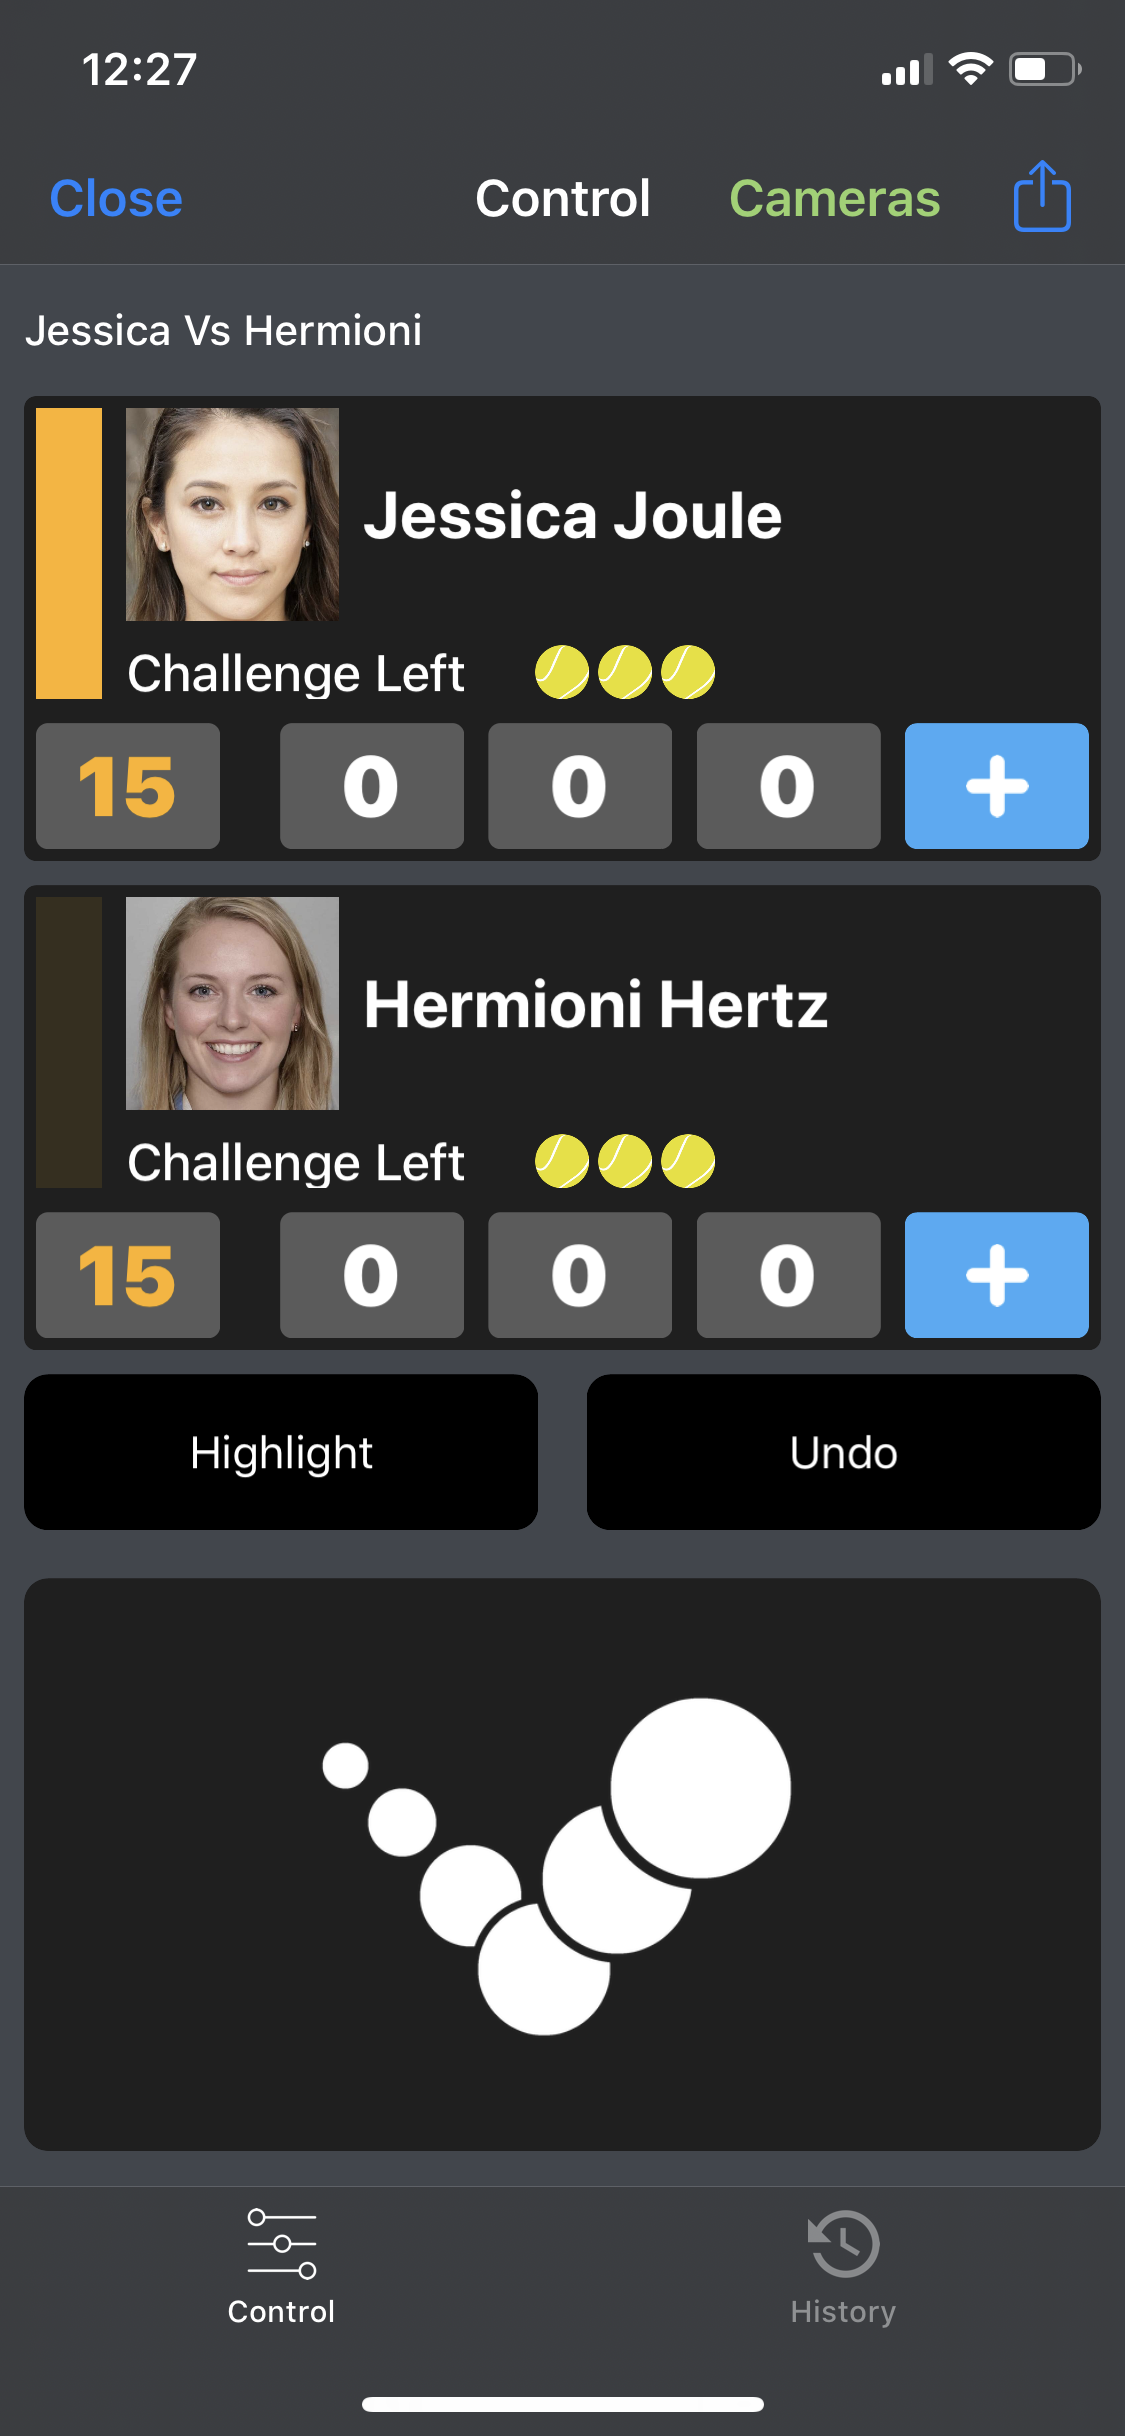
Click the ‘Cameras’ button on the top of eyes3 CONTROL. The button is only enabled if there is at least one camera attached to the match. Note that if there's something wrong with an attached camera, the button will turn red. Check the eyes3 CAMERAs are operating properly if this happens.
 |
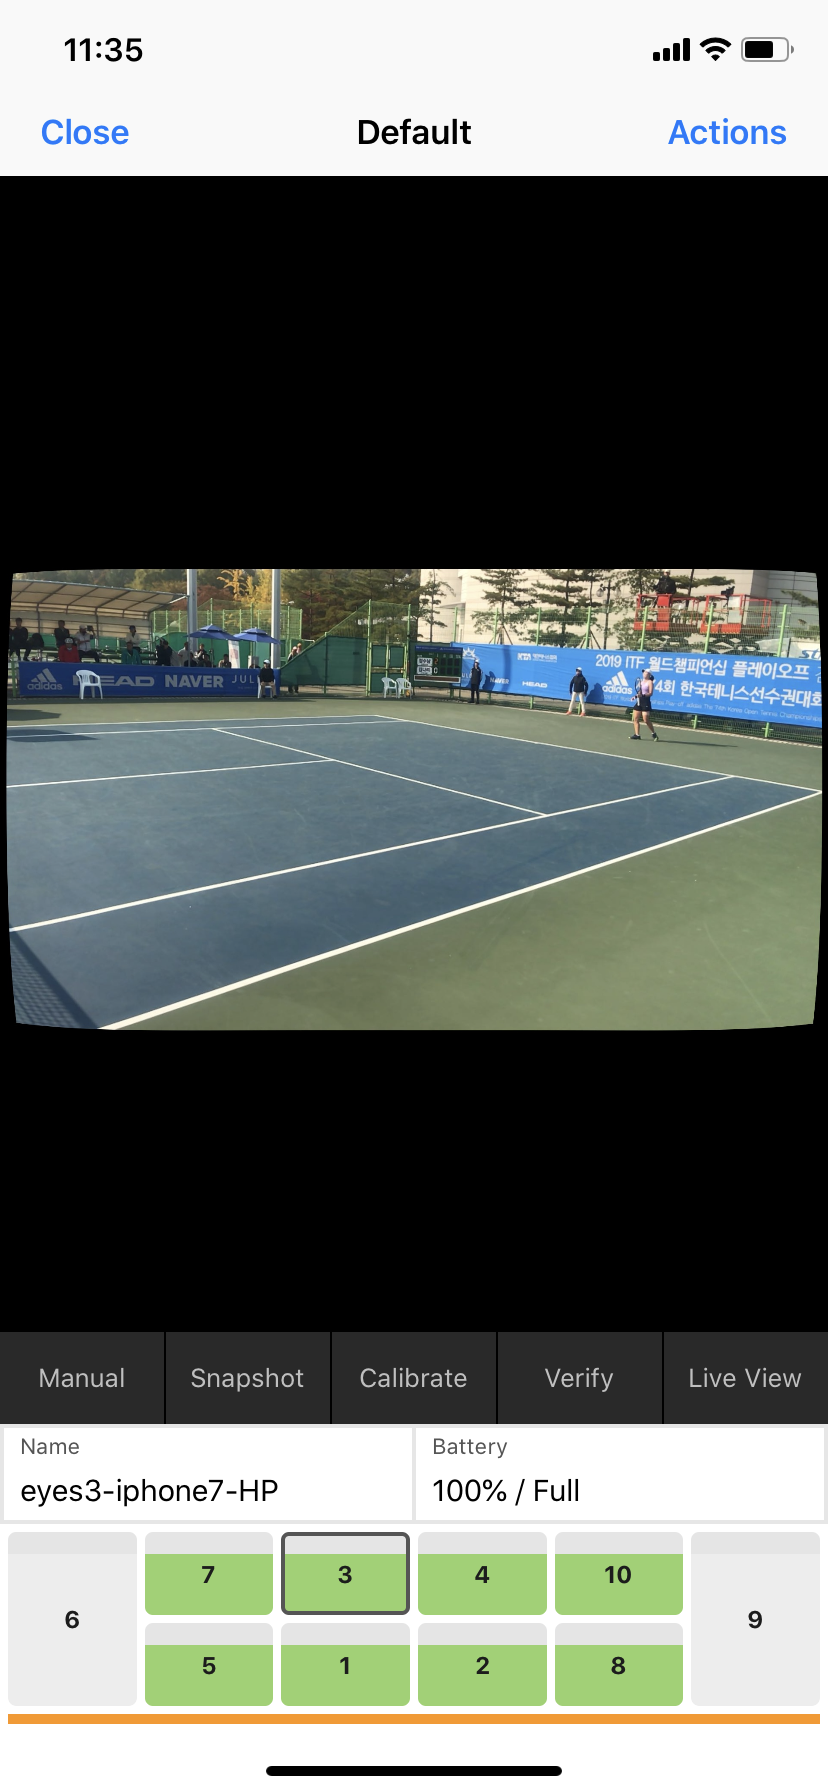 |
Click ‘Action’ and then ‘Calibrate’ to calibrate all eyes3 CAMERAs simultaneously. All the actions performed in this Action menu will apply to all attached eyes3 CAMERAs.
Click ‘Verify’ for each of the green buttons to check for the computer generated court.
Manual Calibration
If Calibration is not successful, select the eyes3 CAMERA in question and click the ‘Manual’ button to perform Manual Calibration. Note you can only perform Manual Calibration for one camera at a time.
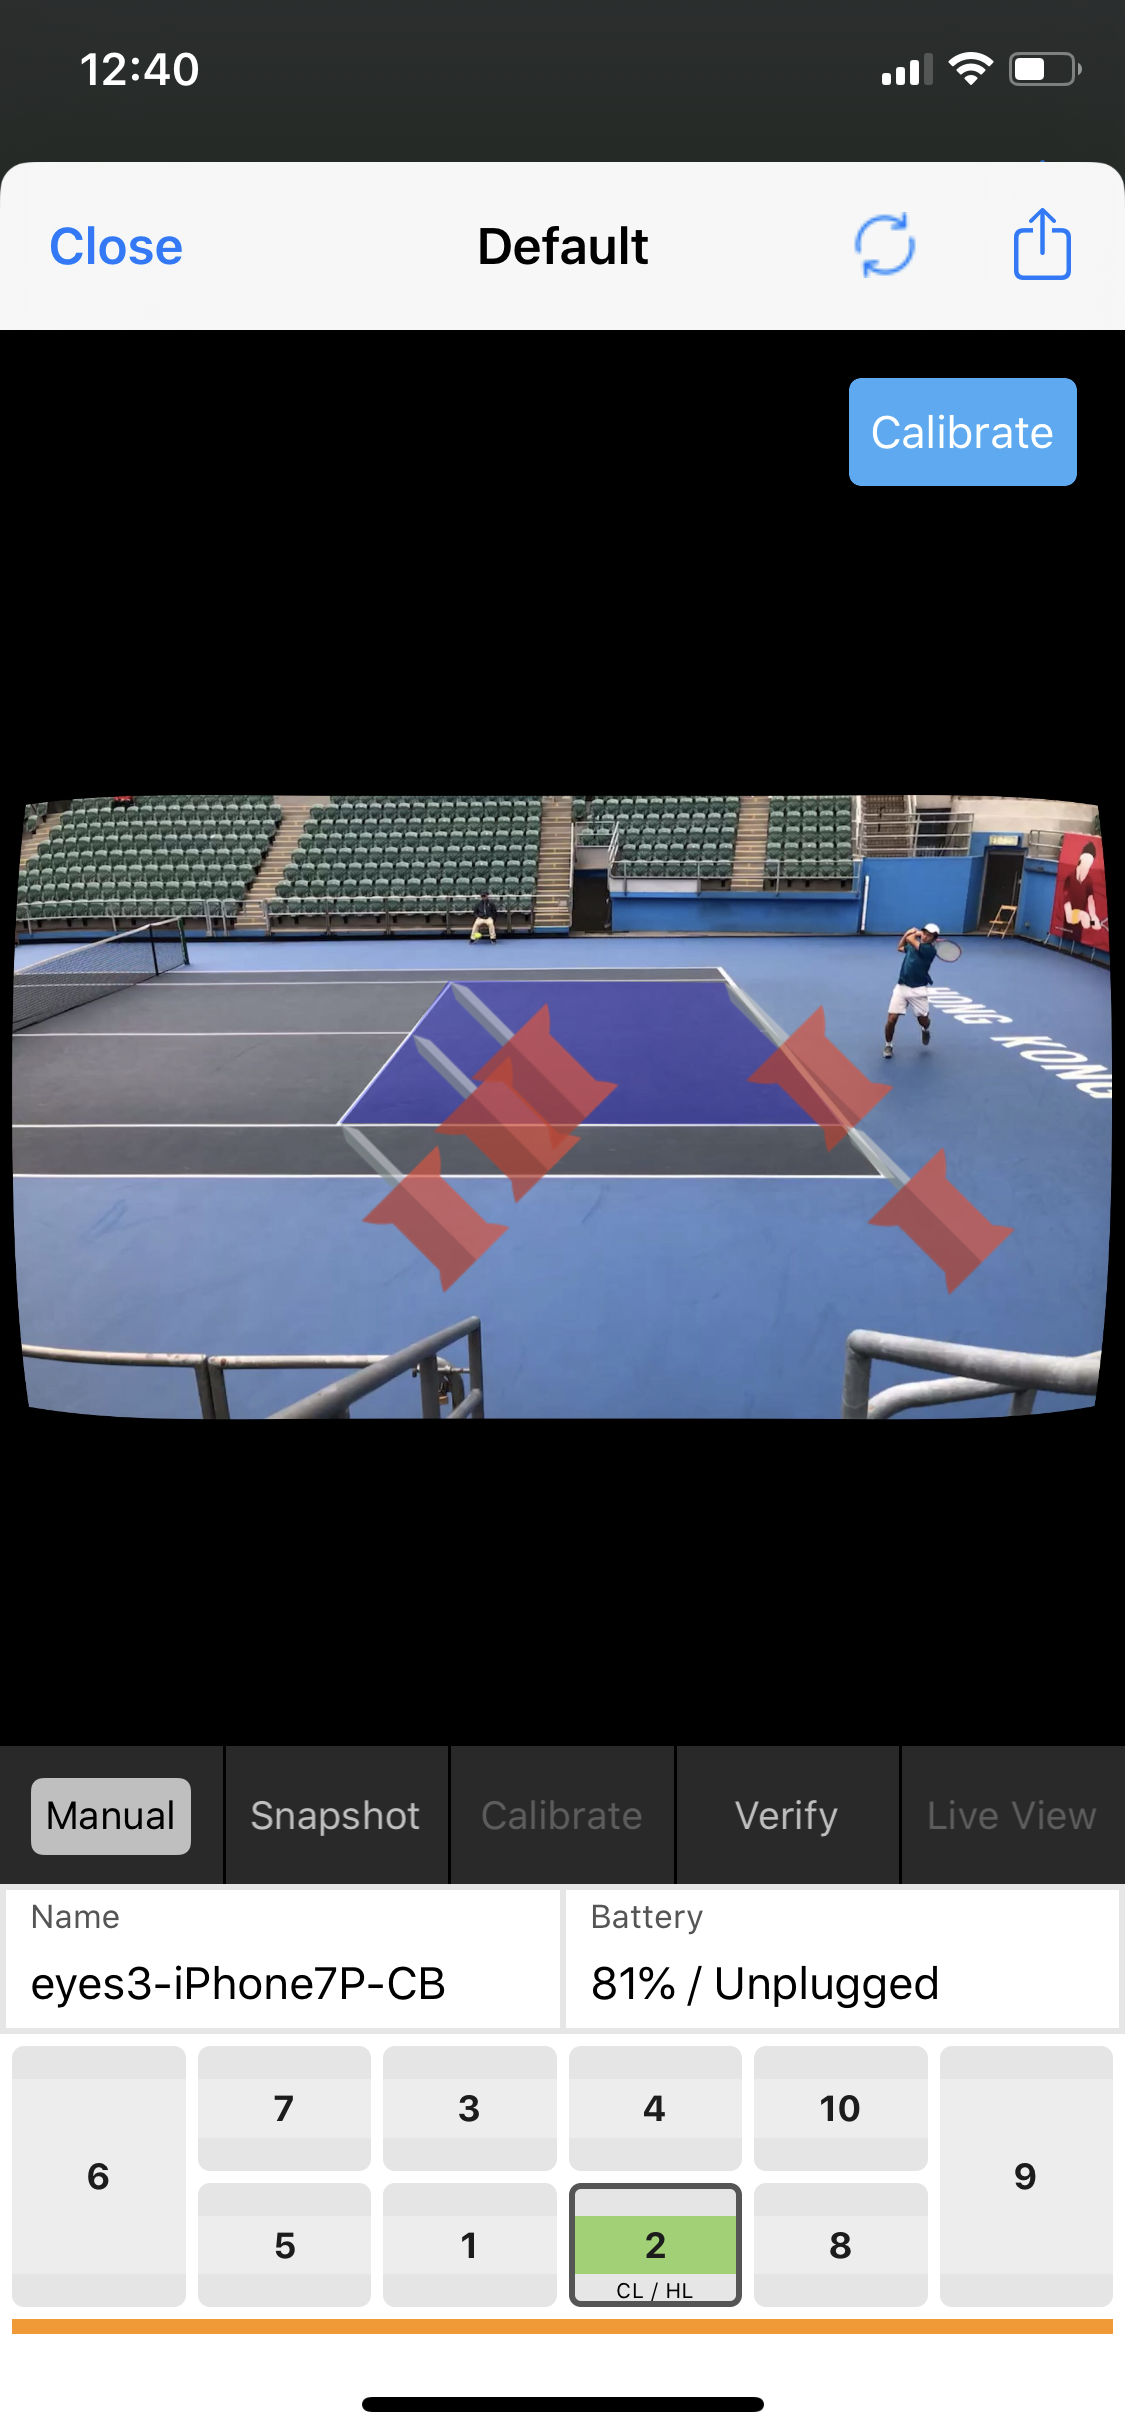 |
Drag the 5 pins in the image to the 5 areas bounded by the Single Side Lines, Service Line, Base Line as above. Pinch to Zoom if necessary.
A computer generated court overlay will appear if Calibration is successful.

